
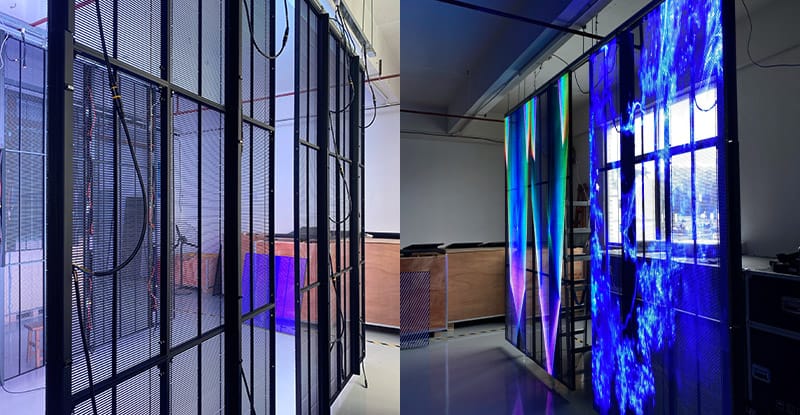
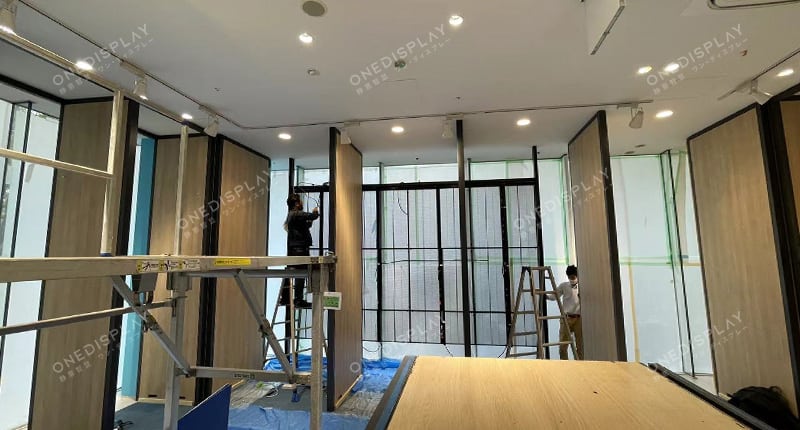
Transparent LED screens are gaining popularity in the advertising industry due to their unique and eye-catching appearance. However, like any other electronic device, they are prone to damage and require maintenance from time to time. In this article, we’ll discuss how to repair a transparent LED screen. This guide is intended for technical experts experienced in working with electronics.
Prerequisites
Having the necessary skills to troubleshoot and repair these screens is essential for maintaining optimal performance and extending their lifespan.
This guide covers essential tools, techniques, and precautions required to diagnose and resolve various issues when repairing a transparent LED screen. It’s designed for technical experts looking to improve their knowledge and skills in transparent LED screen repair.

If you’re not experienced in repairing transparent LED screens, it’s recommended to contact the manufacturer or a certified technician for assistance.
Essential Tools for Repairing a Transparent LED Screen
Before starting the repair process, let’s first review the essential tools and their specifications needed for repairing a transparent LED screen:
- Soldering iron. A soldering iron with adjustable temperature control (range: 200-480°C or 392-896°F) and interchangeable tips for precision soldering and desoldering of components.
- Hot air rework station. A hot air rework station with adjustable temperature (100-450°C or 212-842°F) and airflow control for safely desoldering and soldering SMD components like driver ICs.
- Solder wire. For reliable connections, use a high-quality lead-free solder wire with a suitable diameter (e.g., 0.5mm) and melting point (e.g., 217-220°C or 422-428°F).
- Desoldering braid/wick. Use a desoldering braid or wick for efficiently removing excess solder from the PCB.
- Tweezers. Use precision tweezers (preferably ESD-safe) for handling small components like LEDs and driver ICs.
- Magnifying glass or microscope. Use a magnifying glass or digital microscope for close inspection and accurate soldering.
- Multimeter. Use a digital multimeter for measuring voltage, current, resistance, and continuity to diagnose electrical issues.
- Screwdriver set. Use a set of screwdrivers, including various sizes of Phillips and flathead, to disassemble and reassemble the screen components.
- ESD wrist strap. Use an ESD (electrostatic discharge) wrist strap to prevent damage to sensitive electronic components due to static electricity.
Now that you have the essential tools, let’s move on to the repair process.
Steps to Repair Various Issues in a Transparent LED Screen
Here, we’ll discuss the indicators for replacement and detailed steps to replace these components. Follow these steps to repair various issues in a transparent LED screen:
Step 1: Diagnose the problem.
Identify the issue with the transparent LED screen, such as dead pixels, malfunctioning LEDs, faulty driver ICs, power supply problems, or connectivity issues.
Step 2: Power off and disconnect.
Ensure the screen is powered off and disconnected from all power sources and devices to prevent potential hazards and accidents during the repair process.
Step 3: Disassemble the screen.
Carefully disassemble the screen, removing the necessary components to access the area requiring repair. Keep track of all screws and parts and store them safely to ensure easy reassembly.
Step 4: Troubleshoot and repair.
Based on the diagnosed issue, repair or replace the damaged components. This may involve:
A. Replacing Dead or Malfunctioning LEDs
When to replace:
- The LED is dead or not emitting light.
- The LED is flickering or displaying incorrect colors.
- The LED is visibly damaged or burnt.
Steps to replace a broken LED:
- Identify the broken LED on the transparent LED screen.
- Power off and disconnect the screen from all power sources and devices.
- Disassemble the screen to access the LED module containing the broken LED.
- Using a soldering iron, carefully desolder the broken LED from the LED module, avoiding damage to surrounding components or circuit traces.
- Place a new, compatible LED in the same position as the removed LED, ensuring the correct orientation. Solder the new LED to the LED module, creating secure connections without overheating or damaging the component.
- Reassemble the screen, test the replaced LED, and document the repair process.
B. Replacing Faulty Driver ICs
When to replace:
- Multiple LEDs connected to the same driver IC are malfunctioning.
- The driver’s IC is visibly damaged or burnt.
- Diagnostic tests indicate issues with the driver IC.
Steps to replace a faulty driver IC:
- Identify the defective driver IC on the transparent LED screen.
- Power off and disconnect the screen from all power sources and devices.
- Disassemble the screen to access the LED module containing the faulty driver IC.
- Using a hot air rework station or soldering iron, carefully desolder the faulty driver IC from the circuit board, avoiding damage to adjacent components or circuit traces.
- Place a new, compatible driver IC in the same position as the removed IC, ensuring the correct orientation. Solder the new driver IC to the LED module, creating secure connections without overheating or damaging the component.
- Reassemble the screen, test the replaced driver IC, and document the repair process.
- Soldering broken connections or wires
- Repairing or replacing damaged power supply components
- Fixing or replacing faulty control systems
Step 5: Test the screen.
Before reassembling the screen, power it on and test the repaired area to ensure the issue has been resolved. If the problem persists, reevaluate the diagnosis and perform additional repairs.
Step 6: Reassemble the screen.
Once the issue is resolved, carefully reassemble the screen, ensuring all components are securely connected and properly aligned.
Step 7: Perform a final test.
Power on the transparent LED screen and conduct a comprehensive test to ensure it functions correctly.
Step 8: Document the repair.
Document the repair process, including the issue diagnosed, parts replaced, and any additional steps taken. This information can be valuable for future reference, warranty claims, or troubleshooting.
Maintenance Tips for Transparent LED Screens
To prevent damage to your transparent LED screen, follow these maintenance tips:
- Regularly clean the screen to remove dust and debris.
- Avoid exposing the screen to extreme temperatures or humidity.
- Use a voltage regulator to prevent power surges from damaging the screen.
End
Transparent LED screens are a great way to attract attention to your business or product. However, they require maintenance and occasional repair to ensure they function correctly. By following the steps outlined in this guide and practicing proper maintenance, you can ensure that your transparent LED screen continues to function properly for years to come.